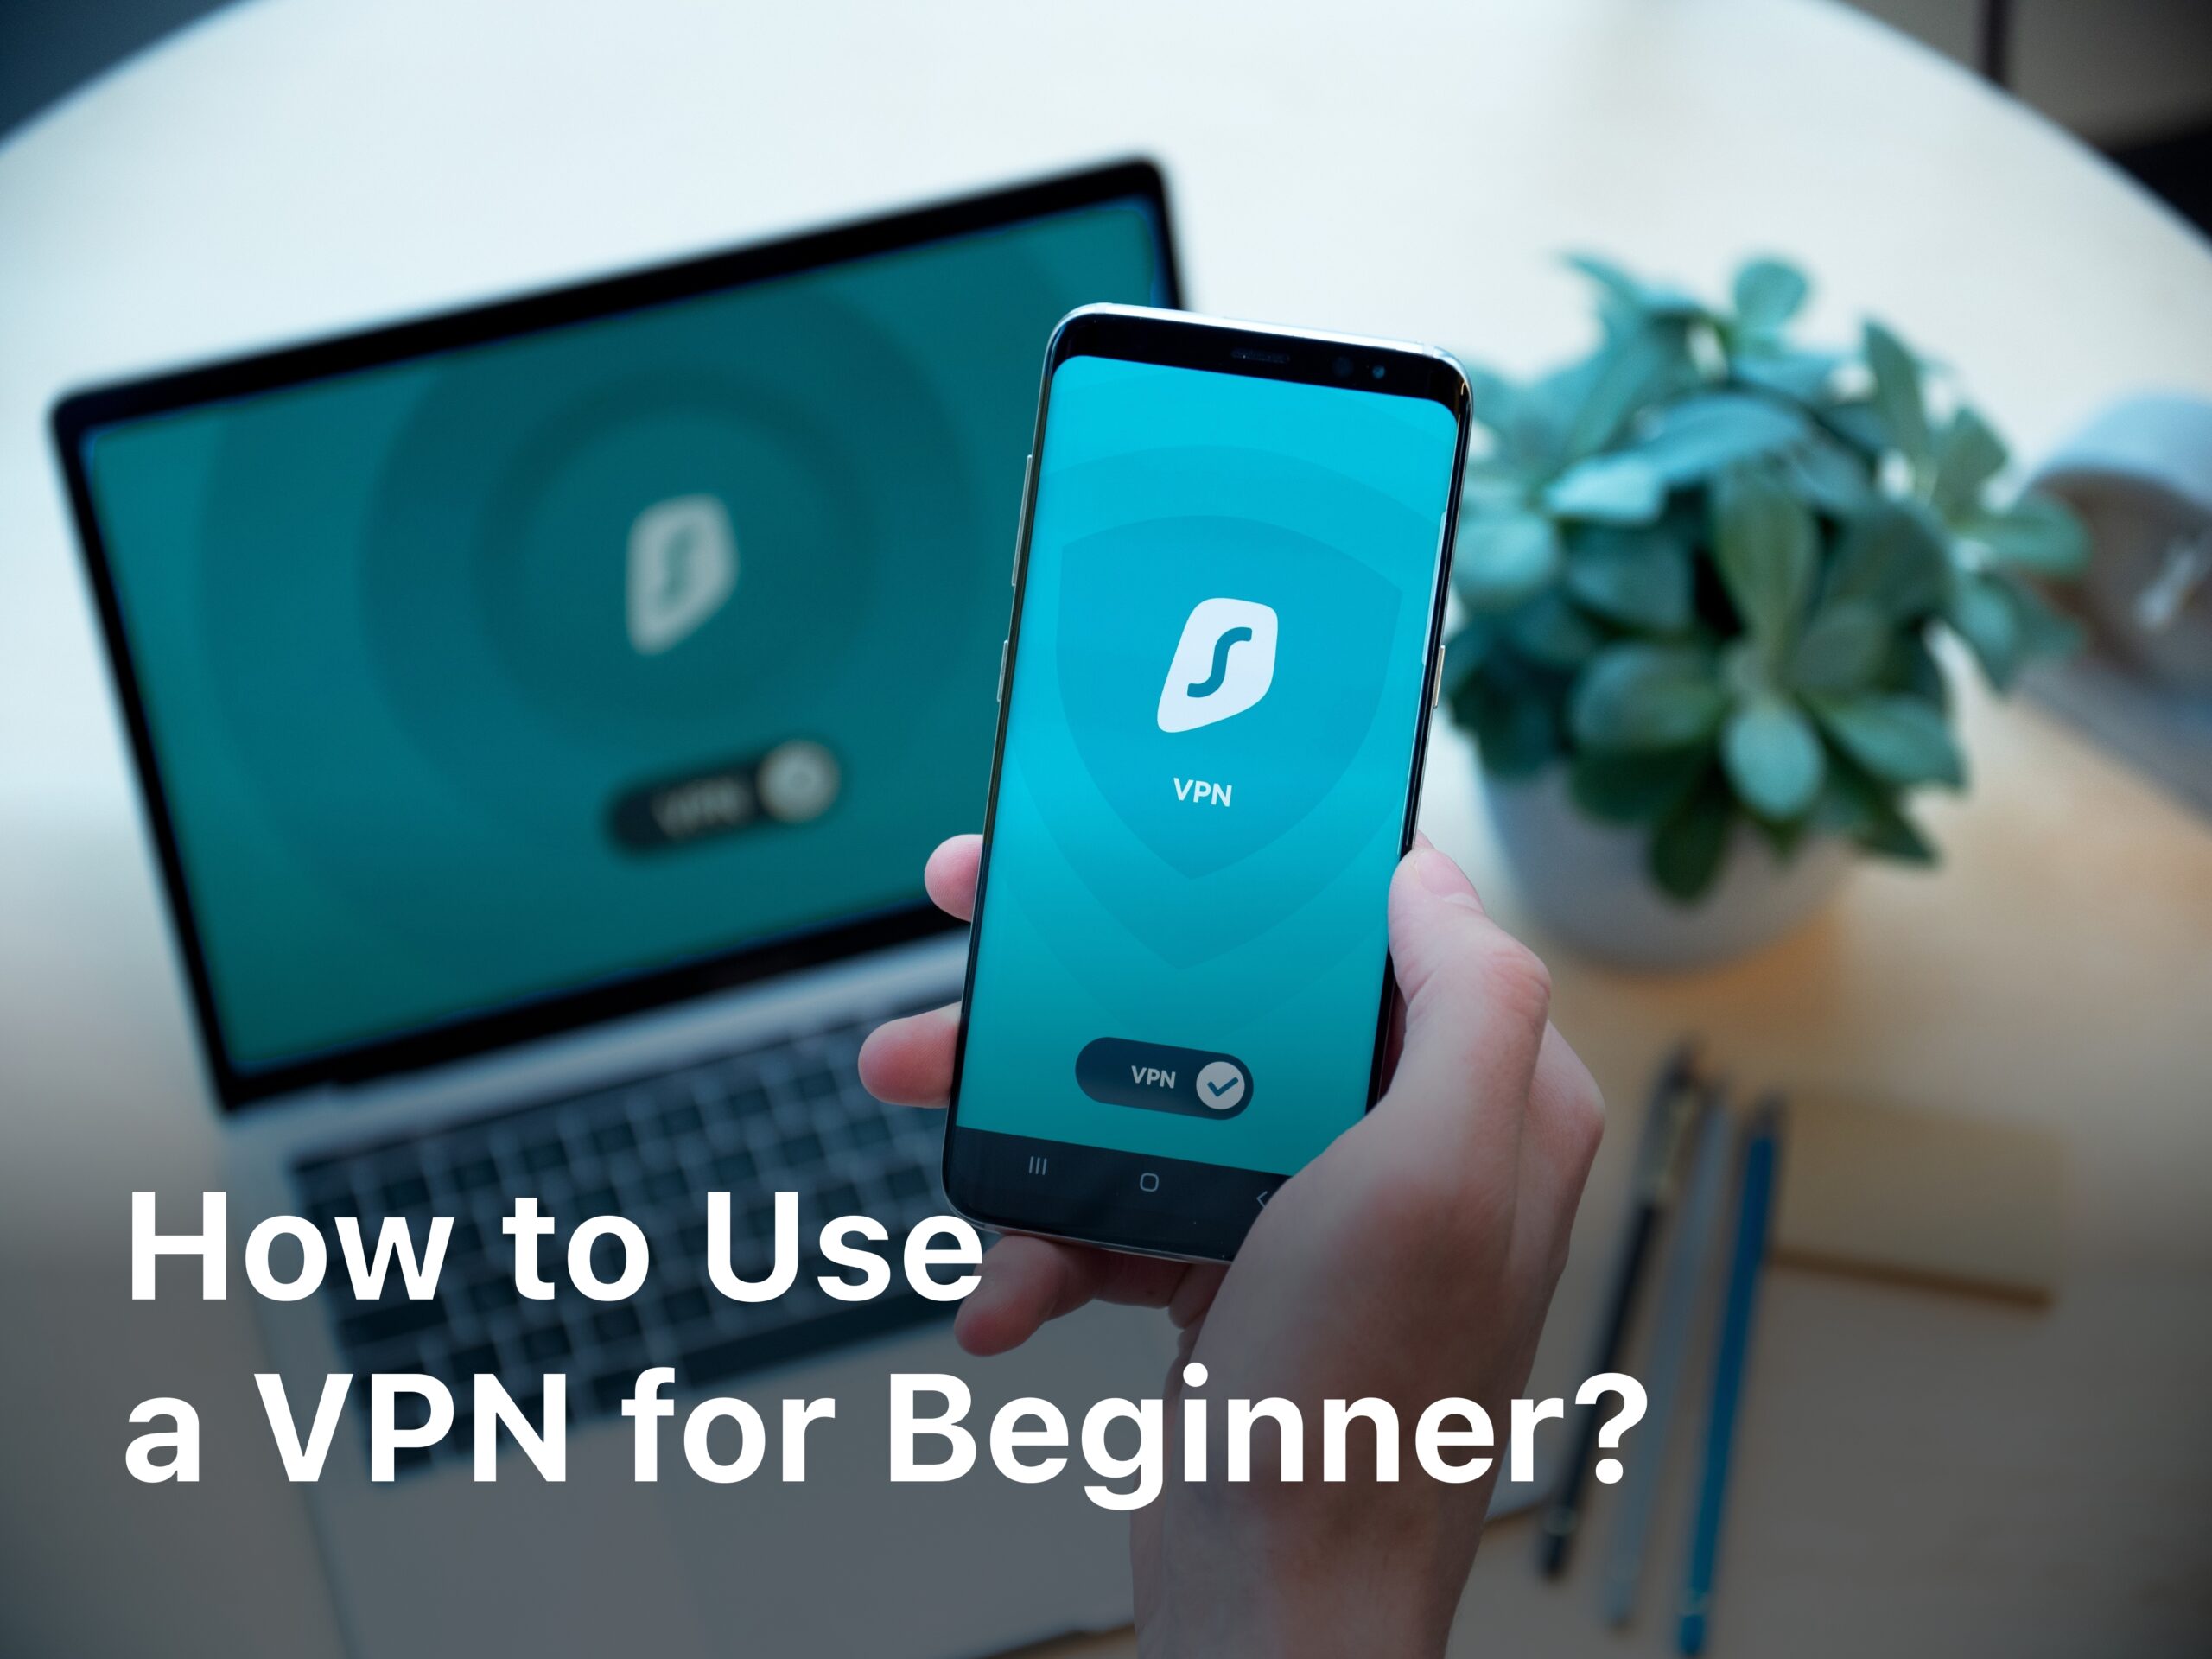
So you’ve heard about VPNs but aren’t sure how to use one or why you even need it. Don’t worry, we’ve got you covered. Using a VPN, or virtual private network, isn’t as complicated as it sounds. In just a few simple steps, you can browse the web securely and access streaming content from anywhere.

A VPN creates an encrypted connection over the internet between your device and a VPN server. All your online traffic is sent over this secure tunnel, hiding your activity and location. Not only does this help prevent nosy Wi-Fi network owners from seeing what you’re up to, but it also allows you to get around geographic restrictions and censorship.
Ready to take your internet security and streaming to the next level? Follow along as we show you how to choose a VPN, download the app, and connect in just minutes. You’ll be browsing anonymously and accessing the entire internet in no time. Let’s get started!
What Is a VPN and Why Do You Need One?
A VPN or virtual private network allows you to create a secure connection over a less secure network, like the internet. Here are a few reasons why you need a VPN:
•Privacy and security. A VPN encrypts all the data you send and receive on the internet, hiding your online activity from prying eyes. Your internet service provider, hackers, and advertisers won’t be able to see what websites you visit or access your personal information.
•Access blocked websites. If there are sites banned or censored in your country or location, a VPN allows you to bypass those restrictions and access the entire internet. You can view content from anywhere in the world.
•Safer public Wi-Fi. Public networks at places like coffee shops, airports, and hotels are not secure. A VPN protects your data on these networks and prevents hackers from stealing your passwords, credit card numbers, and other sensitive details.
•Streaming media access. A VPN lets you access streaming media services with a wider range of shows and movies. You can view Netflix libraries from other countries, access Hulu from outside the US, and stream sports events blacked out in your area.
•Anonymity. A VPN masks your real IP address and replaces it with the IP address of the VPN server. This makes your online activity and location anonymous, hiding your identity and the origin of your internet traffic.
To get started with a VPN, you first need to subscribe to a reputable VPN service. Many offer useful features like unlimited bandwidth, fast connection speeds, strict no-logging policies, and software for Windows, Mac, Android, and iOS. Once you sign up, download the VPN app, install it, and connect to a server location of your choice. Now you can browse the web securely and privately. Enjoy your newfound digital freedom!
How Does a VPN Work?
A VPN or virtual private network masks your online activity and location. But how exactly does it work?
When you connect to the internet, your internet service provider (ISP) can see every website you visit and everything you do online. A VPN encrypts your internet connection and hides your online activities from your ISP and anyone else trying to snoop on your browsing.
How to use a VPN, you sign up with a service like ExpressVPN, NordVPN or Private Internet Access. You download an app to your device and sign in with your account. Open the app, choose a server location, and click “Connect.”
Once connected, your traffic is encrypted and routed through the VPN server. To the outside world, it looks like your traffic is coming from the VPN server. So if you choose a U.S. server, it will seem as if you’re browsing from the U.S. even if you’re vacationing in Europe.
A VPN also masks your IP address, hiding your actual location. It assigns you an IP address from the location of the VPN server. This allows you to bypass geographic restrictions on streaming content or access websites censored in your country.
While connected to a VPN, all your online activity – from emails to instant messages to online shopping – is encrypted and secured. However, a VPN only protects your internet connection. It doesn’t protect the device you’re using. So be sure to also enable encryption and strong passwords on your device for full security.
Using a VPN really isn’t complicated. But for maximum privacy and security, it’s important to understand how VPNs work and their limitations. With the right VPN service, you’ll be browsing the open internet freely and securely in no time.
Choosing a VPN Service: Free vs Paid Options
When choosing a VPN service, you’ll need to decide between free and paid options. Each has its pros and cons, so consider your needs and budget to determine the best choice.
Free VPNs
Free VPN services offer basic functionality without a monthly fee. They’re good for casual or short-term use, like accessing a website not available in your country or using public Wi-Fi securely. However, free VPNs often:
- Have limited server locations, so you may experience slower speeds.
- Place data caps on how much you can browse each month.
- Show intrusive ads to fund the service.
- Potentially sell your data to third parties or have weaker privacy policies.
- Offer little to no customer support.
For long-term, frequent use or streaming media, free VPNs may not meet your needs. But if you just need a quick, temporary solution, a free service can do the trick.
Paid VPNs
Paid VPN services provide a more robust experience for a monthly or annual fee. They are better for frequent or high-bandwidth activities like streaming 4K video, gaming online, or protecting all your internet traffic. Paid VPNs typically offer:
- Unlimited data and bandwidth.
- No ads. Stronger privacy and security features.
- Apps for many devices like phones, tablets, gaming consoles and Wi-Fi routers.
- 24/7 customer support in case you need help.
- Access to a larger network of servers in more locations, which can mean faster speeds.
- Additional features like malware blocking, tracker blocking or kill switches.
While paid VPNs cost money, you get what you pay for. For many users, the benefits of a paid VPN service far outweigh the costs. Prices range from $3 to $10 per month depending on the plan and provider.
In the end, evaluate how to use a vpn and let your needs guide you to the best solution, whether free or paid. With the pros and cons outlined above, you can make an informed choice for your situation.
Setting Up Your VPN Account
Once you’ve chosen a VPN service, it’s time to set up your account. This typically only takes a few minutes.
Creating Your Login
You’ll first need to create a username and password to log in to your VPN account. Make sure to choose a strong, unique password to keep your account secure.
Downloading the VPN Software
Next, you’ll download the VPN software from your provider onto your computer or mobile device. This allows you to connect to the VPN network. The software is typically available for Windows, Mac, Android and iOS. Install the software and open the app to log in with your account info.
Choosing a VPN Protocol
Most VPN services offer different protocols, like OpenVPN, L2TP/IPsec, SSTP or PPTP. OpenVPN is generally the most secure and open-source option. However, some devices may not support it. Check which protocols your devices are compatible with and choose the strongest option possible.
Selecting a Server Location
Once logged into the VPN software, you’ll need to select a server location. The location you choose will determine which country or region your internet traffic appears to be coming from. Pick a location in a country where the content or websites you want to access aren’t blocked. Many VPNs will show the server load and ping to help you choose the fastest, least crowded option.
Enable the Kill Switch (Optional but Recommended)
A kill switch will cut off your internet access if the VPN connection drops to prevent your data or IP address from being exposed. Enable this feature in the VPN software settings for the most protection.
You’re All Set!
Your VPN account is now set up and ready to use. Simply open the VPN software on your device, log in, select a server location and connect. Once connected, your internet activity and location will appear as if coming from the server location you chose. Enjoy your newfound internet freedom! Let me know if you have any other questions.
Downloading and Installing Your VPN App
Once you’ve chosen a VPN service, the next step is downloading and installing their app. This is a straightforward process, but here are a few things to keep in mind:
Downloading the App
- Visit your VPN service’s website and navigate to the “Downloads” or “Apps” page. Here you’ll find installation files for Windows, Mac, Android, iOS, and possibly Linux.
- Select the file for your operating system and click “Download.” The app should download within a few minutes.
Installing the App
- Double-click the installation file you downloaded. This will start the setup wizard.
- Follow the on-screen prompts to install the app. You may be asked for your administrator password during installation. Provide this to complete the setup.
- Once installed, the VPN app icon will appear on your desktop, in the app drawer or home screen. Tap or click to open.
Signing In
- Open the VPN app and enter the login credentials you received when purchasing your VPN service. This will typically include an email address and password.
- If prompted, you may also need to enter an activation or license key. This key will have been provided in your welcome email from the VPN company.
Connecting to a Server
- Select a server location from the list of options. Common locations include the US, UK, Canada, and Australia. Choose a location closest to you for the best performance.
- Click “Connect” to establish an encrypted tunnel between your device and the VPN server.
- Once connected, your internet traffic and data will be securely routed through the VPN. Your location and IP address will also appear as the location of the VPN server you selected.
Following these steps will have you up and running with your VPN in no time. If you run into any issues installing or connecting, don’t hesitate to contact your VPN service’s support. They can quickly help get you back on track so you can start enjoying a faster, more private internet experience.
Connecting to a VPN Server
Once you’ve signed up for a VPN service and downloaded their app, it’s time to connect to one of their VPN servers. This will encrypt all your internet traffic and hide your online activities.
Choosing a Server Location
Select a server location that makes sense for your needs. If you want to access a streaming service from another country or region, choose a server there. For the best performance, pick a location close to you. Many VPNs will show you the latency for each server so you can choose the fastest one.
Connecting to the Server
In your VPN app, you’ll see a list of available server locations. All you need to do is click to connect to one. Most VPN apps make the process very simple with just one click.
Checking Your Connection
Once connected, your VPN app will confirm you’re protected. It may show an icon in your system tray or menu bar. To double check, visit a site like WhatsMyIP.com to see your new IP address and location. If it matches the server you chose, you’ve connected successfully!
Some other things to keep in mind:
• Your internet speed may decrease slightly while connected to a VPN. This is normal and due to the added encryption. For the fastest speeds, choose a nearby server location.
• Certain websites and services may block VPN connections. If a site isn’t loading while connected, first try disconnecting from the VPN. You may need to temporarily disable the VPN to access that site.
• Your VPN connection may drop occasionally. Don’t worry, it’s easy to simply reconnect. Just check your VPN app to make sure you’re still protected.
• Consider enabling the VPN kill switch feature. This will cut off your internet access if the VPN drops, preventing your information from leaking outside the VPN tunnel.
Connecting to a VPN server is really quite straightforward. But if you run into any issues, don’t hesitate to contact your VPN provider’s customer support for help. They can walk you through troubleshooting your connection to get you browsing privately again.
Selecting a VPN Protocol: OpenVPN, L2TP, PPTP, IPSec
OpenVPN
OpenVPN is one of the most popular and secure protocols. It uses OpenSSL encryption to securely tunnel your internet traffic and hide your online activities. OpenVPN can be configured to use either UDP or TCP ports, with most providers opting for UDP. UDP is faster but less reliable, so I would recommend choosing a provider that offers both options.
L2TP/IPSec
L2TP/IPSec is another common VPN protocol. It uses L2TP for tunneling and IPSec for encryption. L2TP/IPSec is built-in to most operating systems making it easy to set up. However, the built-in L2TP/IPSec client is less secure than OpenVPN. Only use L2TP/IPSec if OpenVPN isn’t available and be sure to choose a VPN service with strong encryption like AES-256.
PPTP
PPTP stands for Point-to-Point Tunneling Protocol. It was once the most popular VPN protocol but is now considered insecure due to several known vulnerabilities. I do not recommend using a VPN service that only supports PPTP. If possible, opt for OpenVPN or L2TP/IPSec instead.
IPSec
IPSec or Internet Protocol Security refers to a framework of open standards for encrypting internet traffic. IPSec can be used to create VPN tunnels, but it is usually paired with L2TP to handle tunneling. On its own, IPSec can be difficult to configure manually. So when looking at VPN services, you’ll likely see it offered as L2TP/IPSec rather than just IPSec. For beginners, I recommend starting with OpenVPN or L2TP/IPSec which are easier to get up and running.
In summary, go with OpenVPN when possible for the best security and ease of use as a beginner. L2TP/IPSec is a decent second choice if OpenVPN is unavailable. Avoid PPTP. And IPSec on its own can be complicated to set up manually, so opt for L2TP/IPSec if offered by your VPN service. With the right protocol and strong encryption, you’ll be browsing the web safely and privately in no time!
Changing Your VPN Server Location
Once you have your VPN service set up and installed on your devices, you’ll want to start using it to mask your location and browse the web privately. One of the key benefits of a VPN is the ability to change your virtual server location. This allows you to access geo-restricted content and evade censorship or surveillance.
Connecting to a Different Server Location

To change your VPN server location, open the VPN app on your device and look for the server list option. This may be labeled “Choose a location” or something similar. You’ll see a list of countries and cities where the VPN service offers servers.
Select a location from the list that you want to connect to. Common locations include the US, UK, Canada, Australia, and major cities in Europe and Asia. Once you choose a location, click “Connect” and within a few seconds your VPN will connect to a server in the location you picked. Your device will now appear to have an IP address from that location.
- To access streaming services from another country, pick a server in that country. For example, choose a UK server to watch BBC iPlayer.
- If censorship blocks websites in your location, connect to a server in a country with more internet freedom. Social media and news sites should then work.
- For the most privacy, choose a location in a privacy-friendly country like Switzerland or Iceland. Laws there are more favorable for data protection.
Keep in mind that connecting to distant servers may impact your internet speed due to the added latency. Servers located geographically closer to you will usually provide faster speeds. Test out different locations to find a good balance of privacy, speed, and your needs. Changing your VPN server is easy to do and lets you customize your virtual location to suit whatever you’re trying to access or protect yourself from. Take advantage of this useful feature to broaden your internet horizons.
VPN FAQs: Common Questions From Beginners
As a beginner, you likely have some questions about how VPNs work and how to use them. Here are some of the most common VPN FAQs from new users:
What is a VPN?
A VPN or virtual private network creates an encrypted connection over a less secure network, like the internet. It hides your online activity and location, protecting your privacy and security.
How does a VPN work?
A VPN works by creating an encrypted tunnel between your device and a VPN server operated by the VPN service. All your internet traffic is routed through this tunnel, hiding your activity and location.
Do I need a VPN?
If you care about your online privacy and security, a VPN is a good idea. It can help protect you when using public Wi-Fi, hide your location, and prevent tracking of your online behavior. A VPN is essential if you do any sensitive activities like online banking, shopping, or accessing personal accounts.
Is a VPN legal?
Yes, VPNs are legal in most countries. However, some countries have banned or restricted VPN use. As long as you use a VPN for legal personal and business purposes, you should be fine. But check your local laws to be sure.
How do I choose a VPN?
Some things to consider when choosing a VPN include:
- Price: VPNs range from free to $10-$15/month. Free VPNs may lack security, so a paid service is better.
- Number of devices: Make sure the VPN allows enough simultaneous connections for all your devices.
- Server locations: More locations means more options to choose from for hiding your location.
- Logging policy: For privacy, choose a VPN with a strict no-logging policy.
- Speed: Try to find a VPN that doesn’t significantly slow your internet connection. Some offer unlimited bandwidth.
- Apps and software: Look for apps for all your devices including desktop and mobile operating systems.
- Customer service: For any issues, you’ll want a VPN with 24/7 customer support.
Related Article : 6 Tips What VPN Can Do for You
Does this help answer some of your questions about VPNs? Let me know if you have any other questions!
Conclusion
So there you have it, a quick guide to get started with a VPN. It may seem complicated at first, but with a little practice connecting will become second nature. A VPN is a powerful tool that can help keep your online activity private and secure no matter where you are. Whether using public Wi-Fi at a coffee shop, accessing streaming media that’s geographically restricted, or just maintaining your privacy at home, a VPN has got you covered. Once you start using one, you’ll wonder how you ever got along without it. Now go forth and browse freely – your secret’s safe with me!


