9 Guides How to Set Up VPN on Your iPhone
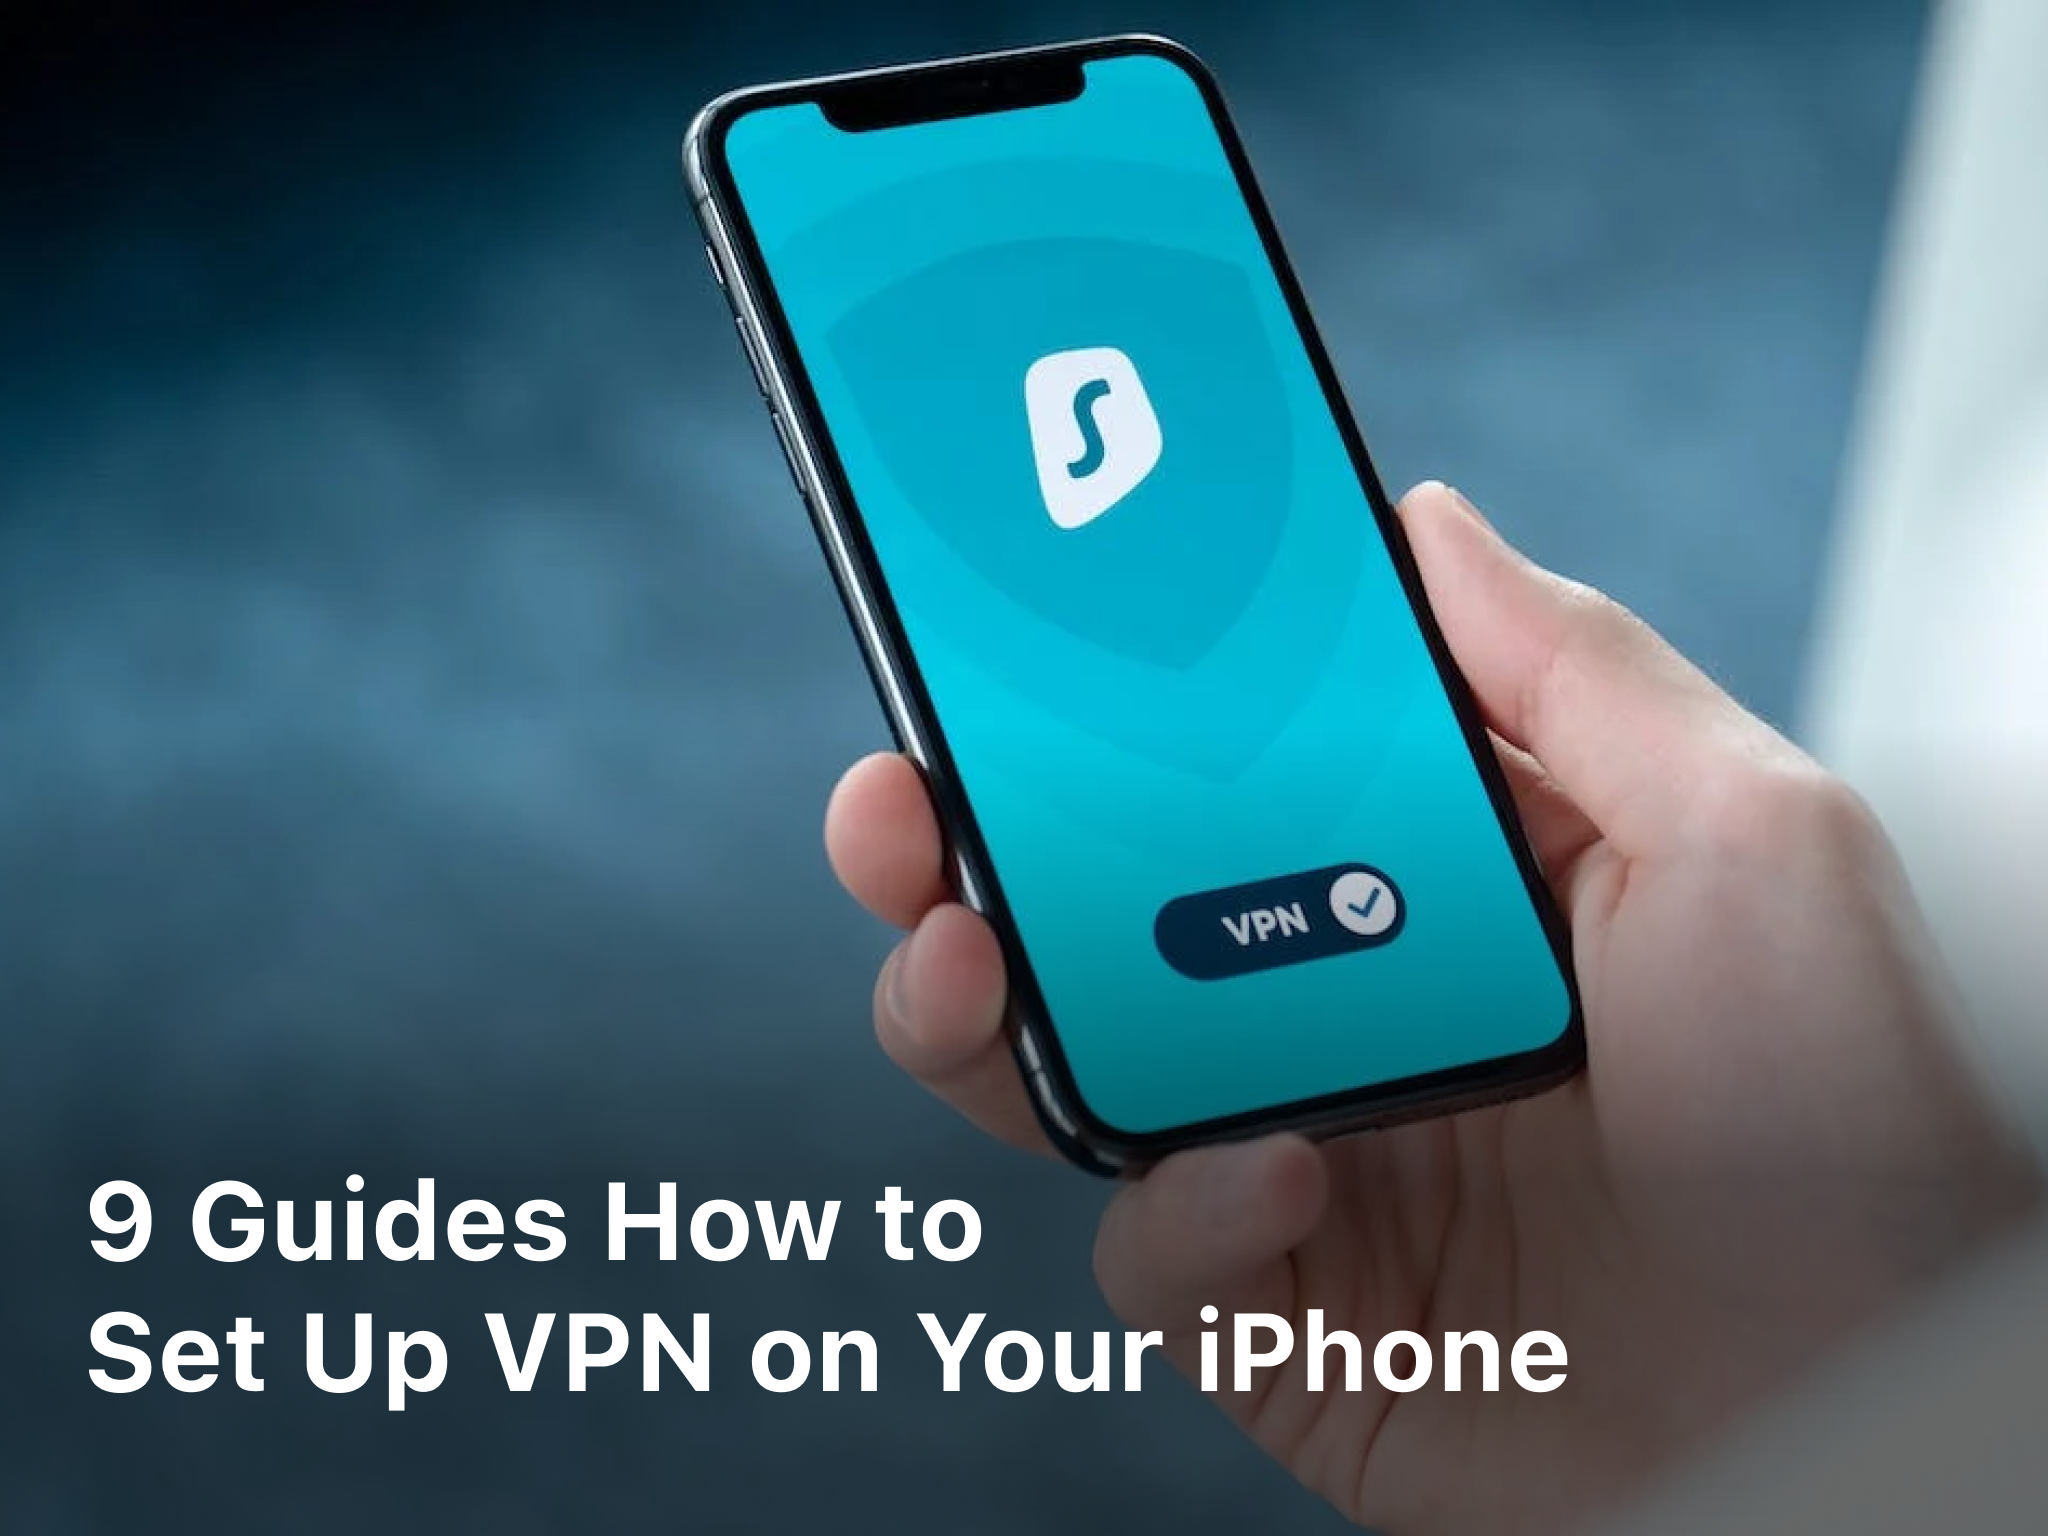
As an iPhone user concerned with privacy and security, setting up a virtual private network or VPN on your device should be a top priority. A VPN allows you to create an encrypted connection over a less secure network, like public Wi-Fi, and helps mask your online activities. With data breaches and privacy concerns on the rise, using a VPN provides an important layer of protection for your personal information and communications. In this article, you will find step-by-step instructions for setting up and configuring a VPN on your iPhone. Whether you are a novice or experienced iPhone user, these guides will walk you through the process of selecting a VPN provider, installing the VPN app, and connecting to a VPN server. Staying safe online has never been more important, so take the time to follow these recommendations and set up VPN on your iPhone today. Your data and privacy will thank you.
How to Download and Install a VPN App on Your iPhone
To set up a VPN on your iPhone, you will need to first download and install a VPN app from the iOS App Store. There are many free and paid VPN service providers that offer iOS apps, such as NordVPN, ExpressVPN, Surfshark, and IPVanish.
Once you have selected a VPN service and downloaded their app, open the app and sign in or create an account. You may need to purchase a subscription to access the full features of the service.
Next, the VPN app will prompt you to allow it to configure your VPN settings. Tap ‘Allow’ to continue. The app will establish a secure connection to the VPN server of your choice. You may be asked to choose a location or purpose for the VPN like ‘streaming’ or ‘security’. Select an option to proceed.
The VPN app icon will then appear in your iPhone’s status bar indicating you are connected. All of your internet traffic will now be routed through this secure VPN connection. To disconnect from the VPN, open the VPN app again and tap ‘Disconnect’ or ‘Stop VPN’.
Using a VPN on your iPhone is an easy way to help ensure your privacy and security when accessing the internet from public Wi-Fi networks. With the multitude of VPN services and apps available, you can find an affordable option perfect for your needs. Follow these simple steps to get started and browse freely with peace of mind.
How to Choose a VPN Service Provider
When choosing a VPN service provider, there are several factors to consider:
- Security and encryption. Look for a VPN that offers strong encryption like AES 256-bit to protect your data and online activities. Protocols like OpenVPN and IPSec are also preferred for their security. Some VPNs offer additional features like a kill switch, DNS leak protection, and split tunneling.
- Server locations. The more server locations a VPN has, the more options you have to spoof your location. Look for a VPN with servers in multiple countries and cities.
- Speed and bandwidth. Using a VPN may impact your internet speed to some extent. Choose a VPN known for fast speeds and unlimited bandwidth to minimize speed loss. Some VPNs are better for streaming or torrenting.
- Apps and ease of use. Look for a VPN that offers user-friendly apps for iOS, Android, Mac, and Windows. The apps should be easy to navigate and enable you to connect and disconnect quickly. Some VPNs offer additional useful features within their apps.
- Pricing and plans. VPNs often offer multiple pricing plans at monthly, annually or multi-year subscriptions. Compare the plans and look for a reputable VPN that fits your budget. Some VPNs take privacy and logging policies into account with their pricing.
- Reputation and reviews. Do some research on the VPN company and read reviews from trusted sources. Look for a VPN service with an overall positive reputation for things like privacy, security, speed, reliability, and customer support.
By considering these key factors, you can determine which VPN service provider will work the best for safeguarding your iPhone data and online activities. Choose wisely for the optimal balance of security, functionality, and cost.
Related Article : Guide: How to Remove Google Chrome Extension in 2023
How to Set Up a VPN Connection on Your iPhone

To set up a VPN on your iPhone, follow these steps:
1. Download a VPN app
The first step is to download a VPN app from the App Store. Some highly-rated free options are NordVPN, ExpressVPN, and TunnelBear. Or you can pay for a premium service like IPVanish or CyberGhost. Download the app from the trusted developer.
2. Sign up and log in
Once the app is installed, sign up for a new account or log in if you already have an account. Enter your username and password to access the service. The VPN company will now have access to your internet connection to encrypt your data and hide your IP address.
3. Choose a VPN protocol
Select a VPN protocol within the app like OpenVPN or IKEv2. OpenVPN is open-source and secure, while IKEv2 is fast but proprietary. Either protocol will encrypt your iPhone’s internet connection to protect your privacy.
4. Select a VPN server location
Choose a VPN server location, like the United States or Europe. The location you choose will determine what content you can access and which websites think you are accessing them from. For the most privacy, choose a location different from where you are.
5. Connect to the VPN
Once you’ve chosen your settings, tap the “Connect” or “Turn On” button in the VPN app to start encrypting your internet connection and hiding your real IP address. A VPN icon will appear at the top of your iPhone screen indicating you are connected. You can now browse the web privately and securely.
6. Disconnect when done
When you are finished using the VPN, tap the “Disconnect” or “Turn Off” button in the VPN app. This will stop the VPN service and turn off the encryption of your iPhone’s internet connection. Your regular IP address will now be visible again for standard web browsing.
Following these guides will allow you to set up a VPN on your iPhone to browse the web privately and securely from anywhere. Let me know if you have any other questions!
How to Enable “Always-on VPN” and “VPN on Demand” on Your iPhone
To enable the “Always-on VPN” and “VPN on Demand” features on your iPhone, follow these steps:
Configure a VPN Profile
You must first set up and install a VPN profile on your iPhone. This profile contains the VPN server information and credentials to connect to the VPN. Obtain the VPN profile from your network administrator or VPN service and install it on your iPhone.
Enable “Always-on VPN”
- Go to Settings -> General -> VPN.
- Tap the “i” icon next to the VPN you want to enable Always-on VPN for.
- Toggle the “Always-on VPN” switch to on.
- Enter your passcode or use Touch ID/Face ID to confirm.
Enable “VPN on Demand”
- Go to Settings -> General -> VPN.
- Tap the “i” icon next to the VPN profile you want to enable VPN on Demand for.
- Tap “VPN on Demand” and toggle the “VPN on Demand” switch to on.
- Choose which apps and websites should trigger the VPN connection. Select “All Apps” to connect whenever any app accesses the internet. Or choose specific apps and websites from the list.
- Tap “Done” to save the settings.
Adjust VPN Options (Optional)
You can configure additional options for your VPN connection such as:
- Send All Traffic: Routes all network traffic through the VPN. Disable to allow some traffic outside the VPN.
- DNS: Use DNS servers provided by the VPN or your network provider. Using the VPN’s DNS helps prevent DNS leaks.
- Proxy: Enable Proxy settings if provided by your VPN service.
- IPv6: Disable IPv6 to prevent IPv6 traffic leaks. Only disable if instructed to do so by your VPN service.
Enabling these features will ensure your iPhone automatically connects to the VPN when needed to keep your data and browsing activity private and secure. Let me know if you have any other questions!
How to Troubleshoot Common VPN Issues on Your iPhone
Once you have set up your VPN on your iPhone, you may encounter some common issues that prevent it from working properly. Here are some tips to troubleshoot the most frequent problems.
Check Your VPN Account Credentials
Double check that you have entered the correct username and password for your VPN account. Incorrect login credentials are a common reason for VPN connection failures. Re-enter your information to validate it is accurate.
Ensure Your VPN App Has Location Permissions
If your VPN app is not connecting, it may be due to lack of location access. Go to Settings → Privacy → Location Services and turn on Location for your VPN app. This allows the app to determine your location in order to connect to the optimal VPN server.
Try Reinstalling Your VPN App
In some cases, reinstalling the VPN app can resolve issues with connections or login. Delete the app from your iPhone and download the latest version from the App Store. Sign in again with your VPN account details to connect.
Check for iOS Updates
Outdated software can sometimes interfere with VPN connectivity. Make sure you have the latest version of iOS installed on your iPhone. Go to Settings → General → Software Update to check for and install any available iOS updates.
Reset Your iPhone Network Settings
Resetting your network settings forces your iPhone to reconnect to Wi-Fi and cellular networks and can fix many common VPN issues. Go to Settings → General → Reset → Reset Network Settings. This will reset Wi-Fi networks and passwords, cellular settings, and VPN and APN settings. You will need to sign in to Wi-Fi networks and VPNs again after resetting.
Following these troubleshooting steps should resolve most common VPN connectivity problems on your iPhone. However, if your VPN continues not working, you may need to contact your VPN service provider’s support for further assistance in determining the issue.
Conclusion
With these nine helpful guides, you can now set up a VPN on your iPhone and browse the internet freely and securely. A VPN allows you to encrypt your internet connection and hide your online activities, protecting your privacy. By choosing a VPN service and app that aligns with your needs and priorities, you’ll gain peace of mind knowing your personal information and online behavior are shielded from prying eyes. Once configured, your VPN will work quietly in the background to safeguard your iPhone data and unlock the open internet. The next time you connect to public Wi-Fi or want to access websites restricted by location, your VPN will prove an invaluable tool for maintaining your digital security and liberty. Take advantage of these step-by-step tutorials to install a VPN on your iPhone today. The power to control and secure your internet experience is now in your hands.