
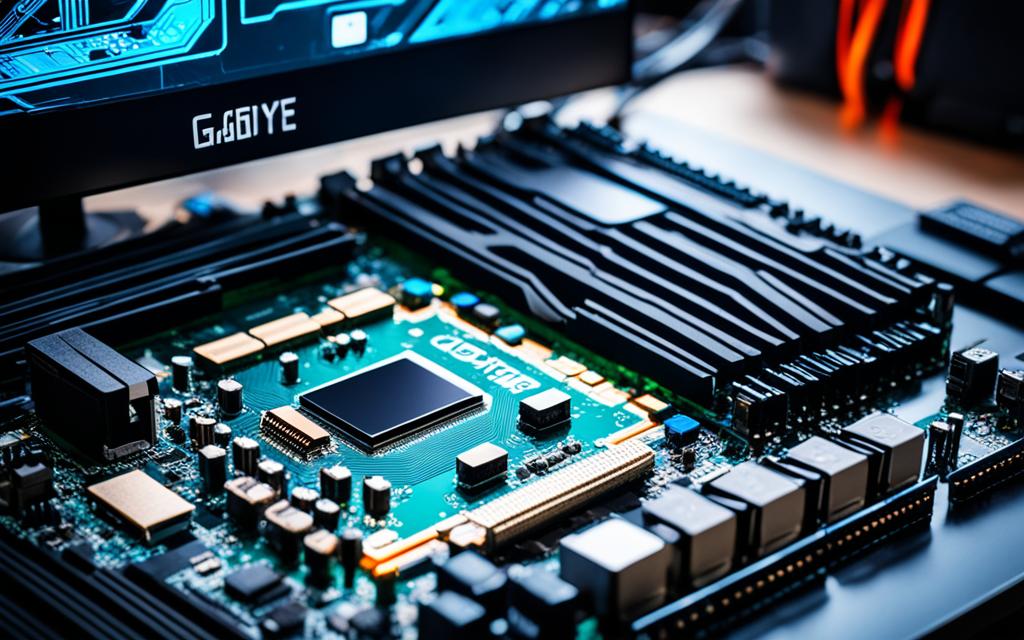
How to Update BIOS on Gigabyte Motherboard: Step-by-Step
In this guide, we’ll show you how to update your Gigabyte motherboard’s BIOS. This is key for getting the newest features, boosting system speed, or fixing security gaps. By the end, you’ll know how to do it easily and safely.
Introduction to Updating BIOS on Gigabyte Motherboards
The BIOS is like the heart of your computer’s hardware. It’s found on your Gigabyte motherboard. This part is key for making sure your system works well. Gigabyte, a top maker of motherboards, often puts out BIOS updates. These updates bring new stuff, fix bugs, and make things run smoother and safer.
There are good reasons to update the BIOS on your Gigabyte motherboard:
- Access to the latest hardware support and bug fixes
- Improved system stability and reliability
- Enhanced compatibility with newer components and software
- Potential performance improvements for your system
In the next part, we’ll walk you through how to update the BIOS on your Gigabyte motherboard. This keeps your system in top shape. With the latest BIOS updates for Gigabyte motherboards, your hardware works its best. You’ll get a better, more trustworthy computer experience.
Why Update Your Gigabyte Motherboard BIOS?
Updating the BIOS on your Gigabyte motherboard is important for several reasons. It can boost performance and keep your system secure. These are just a few benefits worth your time.
Performance Enhancements
Updating your Gigabyte motherboard BIOS can lead to better performance. New BIOS versions can make your system run faster or manage power more efficiently. This means you get a computer that works more smoothly and quickly.
Security Updates
Updating your BIOS also keeps your system safe from hackers and malware. New BIOS versions come with security patches. These patches protect your computer from cyber threats. So, by updating your BIOS, you make your computer more secure.
So, updating your Gigabyte motherboard BIOS is more than just maintenance. It’s about improving your system’s performance and security. This update helps ensure your computer works well and stays safe.
Prerequisites for Updating BIOS on Gigabyte Motherboard
To update the BIOS on your Gigabyte motherboard, you must ensure a few things first. Having a stable power source is crucial. Desktops should be plugged directly into a wall. Laptops must not work on battery power during the update.
You also need a USB drive or CD/DVD that’s compatible. This will be your BIOS update medium. Make sure the drive has no errors or corruption.
| Requirement | Description |
|---|---|
| Stable Power Source | Ensure your computer is plugged directly into a wall outlet, not a power strip or battery backup. For laptops, make sure it’s not running on battery power. |
| Bootable BIOS Update Media | Prepare a compatible USB drive or optical disc (CD/DVD) to load and execute the BIOS update file. |
With these steps done, you’re ready to update the BIOS on your Gigabyte motherboard. Remember, preparation is key to a smooth update process.
Downloading the Latest BIOS Version for Your Gigabyte Motherboard
Updating your Gigabyte motherboard’s BIOS starts with finding your specific model. Then, go to Gigabyte’s website to get the latest BIOS. Make sure you download the right one. The wrong file can harm your system.
Identifying Your Motherboard Model
To get the newest BIOS, first find your motherboard’s model. Look for the model number on the board or in your computer’s BIOS. Having the right model number ensures a safe download.
Locating the BIOS Update on Gigabyte’s Website
With your model known, go to Gigabyte’s support section on their website. There, search for your motherboard to find the latest BIOS. Read all about the update to check if it’s right for your needs.
To find the latest BIOS for your Gigabyte motherboard, you can visit the Gigabyte website and search for your motherboard model. The BIOS update downloads are typically located in the support or downloads section of the site.
| Motherboard Model | Latest BIOS Version | Release Date | Download Link |
|---|---|---|---|
| Gigabyte Z690 AORUS ELITE AX | F7 | May 2023 | Download |
| Gigabyte B550 AORUS ELITE | F14 | April 2023 | Download |
| Gigabyte X570 AORUS ULTRA | F34 | March 2023 | Download |
Preparing to Update BIOS on Gigabyte Motherboard
Before updating your Gigabyte motherboard’s BIOS, you must complete some essential steps. First, make a bootable USB or optical disc with the needed BIOS update file. This allows you to boot your computer from this media and run the BIOS update utility.
It’s also smart to save your current BIOS settings beforehand. This way, if you need to go back, you can set your system as it was.
Creating a Bootable USB Drive
To set up a bootable USB drive for the BIOS update, do this:
- Get the BIOS update file from the Gigabyte website.
- Format a USB drive to use the FAT32 file system.
- Put the BIOS update file on the USB drive.
- Use rufus or BalenaEtcher to make the USB drive bootable.
Backing Up Your Current BIOS Settings
It’s essential to back up your BIOS settings before updating. This lets you revert to your system’s past state if necessary. To save your current settings, do the following:
- Press the specific key (usually Delete or F2) as your computer starts to enter the BIOS setup.
- Go to the “Save & Exit” or “Exit” menu.
- Choose to save your BIOS settings to a USB drive or another storage device.
- Just follow the prompts on your screen to finish saving.
Following these steps will ready you to update your Gigabyte motherboard’s BIOS. This helps ensure your system stays stable and works well during and after the update.
How to Update BIOS on Gigabyte Motherboard
Updating the BIOS on your Gigabyte motherboard is key to your computer’s best performance and security. Below, we explain the steps to update your motherboard’s BIOS.
The BIOS update is a key step but needs care. Follow each step closely to prevent any issues. Let’s dive in!
- Make sure you have the newest BIOS version downloaded on a bootable USB drive, per the last section.
- Turn off your PC and unplug any extras like external hard drives.
- Find the BIOS button or jumper. It’s usually near the CMOS battery or PCIe slots.
- Hold down the BIOS button or switch the jumper to the “BIOS Update” spot. Your motherboard’s manual will show you how.
- Put the USB drive with the BIOS update file into your PC.
- Turn on your PC and wait for the Gigabyte logo to show up.
- Don’t turn off the computer or interrupt the process once the update starts. This could harm your motherboard.
- After it finishes, your PC will restart on its own. You might need to go into the BIOS setup to check the new version.
The steps might be a bit different depending on your Gigabyte motherboard. Always check the manual for more help or tips.

By following these, you can update the BIOS on your Gigabyte motherboard. This lets you use the new BIOS features and boosts your computer’s performance. If you have any trouble, talk to the motherboard’s support team or a technician.
Entering the BIOS Setup Utility on Gigabyte Motherboard
To update the BIOS on your Gigabyte motherboard, you first need to enter the BIOS setup utility. This step is key to starting the update process. Let’s look at how to get into the BIOS setup utility on your Gigabyte computer.
- Start or restart your Gigabyte computer.
- Watch for the BIOS prompt or a message about the key to press to enter BIOS setup. It’s often Delete or F2, but this might change based on your motherboard.
- Press the right key (Delete or F2) over and over until you see the BIOS setup on your screen.
- In the BIOS setup utility, you’ll find many settings you can change using the arrow and function keys, plus the Enter key.
The process to access the BIOS setup utility can vary by Gigabyte motherboard model. For detailed instructions, check your motherboard’s user manual or the Gigabyte website. There, you can find specific directions on how to access the BIOS on your Gigabyte motherboard.
After opening the BIOS setup utility, you’re all set to update the BIOS on your Gigabyte computer. Next, we’ll talk you through finding the BIOS update option and choosing the correct file.
Navigating the BIOS Update Process on Gigabyte Motherboard
Upgrading your Gigabyte motherboard’s BIOS starts with finding the update option in the BIOS setup. Look for it in a dedicated BIOS update menu or system management section, depending on the motherboard.
Locating the BIOS Update Option
When in the BIOS setup, you need to find the BIOS update option. It’s usually labeled under “BIOS Update” or “M-Flash.” These refer to Gigabyte’s tool for updating the BIOS.
Selecting the Correct BIOS File
After finding the update option, pick the right BIOS file you downloaded earlier. Make sure it’s for your specific Gigabyte motherboard model. Check the file’s name and version to be sure it’s the correct update.
Follow these steps carefully. By doing so, you can update your Gigabyte motherboard’s BIOS successfully. This update can bring better performance and security to your system.
Verifying a Successful BIOS Update on Gigabyte Motherboard
After updating the BIOS on your Gigabyte motherboard, it’s key to check if the update worked. This confirms your computer is running on the latest BIOS and is doing well. We’ll look at how to make sure the BIOS update on Gigabyte was successful and your Gigabyte motherboard BIOS update is complete.
Check the BIOS version info when your computer starts up. After updating, focus on the BIOS version number or date that shows on the screen. It should match the info you got from the BIOS file.
You can check the updated BIOS version in your Gigabyte motherboard’s setup. Here’s what you do:
- Restart your computer and press the proper key (often Del or F2) to get to the BIOS setup.
- Find the section labeled “BIOS Information” or “BIOS Version” to see the current BIOS version.
- Make sure this version number or date matches your BIOS update file.
If you find that the BIOS version doesn’t match, your update might not have worked. You might need to update the BIOS again or check for other issues.
| Step | Action | Verification |
|---|---|---|
| 1 | Restart your computer and enter the BIOS setup | Look for the BIOS version information |
| 2 | Locate the “BIOS Information” or “BIOS Version” section | Confirm the BIOS version matches the updated file |
| 3 | If the BIOS version is not updated, repeat the BIOS update process | Verify the BIOS version after the next update |
Follow these steps to be sure your Gigabyte motherboard’s BIOS update worked. This way, your computer runs on the latest BIOS. It will also use any new features or protections from the update.
Restoring BIOS Settings on Gigabyte Motherboard
After updating your Gigabyte motherboard’s BIOS, you might need to get back any custom settings. This includes things like overclocking, boot order, and system preferences. These settings might have gone back to default after the update.
Restoring these settings is easy, and we’ll show you how. This guide will help you set your Gigabyte motherboard to work just right for you after the BIOS update.
Locating the BIOS Reset Option
The first thing is to enter the BIOS setup on your motherboard. Press a key like F2 or Delete when your computer starts. Inside BIOS, you’ll see options like “Load Optimized Defaults” or “Load BIOS Defaults.”
- Find the “Load Optimized Defaults” or “Load BIOS Defaults” option.
- Choose it and press Enter to set the BIOS back to factory settings.
Reconfiguring Your Custom BIOS Settings
With the BIOS reset, you can now start putting your custom settings back. This could mean setting up:
- Overclocking profiles
- Boot order preferences
- Hardware monitoring thresholds
- Power management configurations
- Any other settings you prefer
Take your time to go through each setting. Adjust them to fit how you like your system. This makes sure your Gigabyte motherboard is set up just right for you after the update.
Verifying the Restored BIOS Settings
After you’ve redone your settings, make sure to save and exit the BIOS setup. Your Gigabyte motherboard should be running with your chosen settings now. This lets you see the benefits of the update while keeping your favorite system setup.
If you have any trouble or questions while restoring your BIOS, go back to this guide or contact Gigabyte’s support. They can help you further.
Troubleshooting Common BIOS Update Issues on Gigabyte Motherboard
Updating the BIOS on your Gigabyte motherboard is often easy. Yet, you might face some issues. We’ll help you solve problems like a BIOS update that doesn’t work or issues after updating.
A failed BIOS update is a common problem. It might be due to a sudden power loss or a wrong BIOS file. Don’t worry if this happens. Here’s what you can do:
- Check the BIOS update file: Download the proper BIOS update for your Gigabyte model from their website. Be sure it matches the details.
- Verify the bootable USB drive: Format your USB drive correctly and make sure it can boot. A non-bootable drive leads to update failures.
- Reboot and try again: A simple restart and another update attempt may fix the problem.
- Use the Q-Flash utility: This tool allows BIOS updates without booting into the OS, aiding if the system becomes unstable.
Another issue is system instability post-BIOS update. Your system might crash or freeze. Here’s how to tackle this:
- Revert to the previous BIOS version: If the new BIOS causes problems, go back to the previous version using the BIOS setup or Q-Flash.
- Clear the CMOS: Reset the BIOS settings by clearing the CMOS. This could fix stability issues.
- Check for BIOS compatibility: Ensure that the BIOS and motherboard model are compatible. Incompatible BIOS versions lead to problems.
Following these steps can help you fix BIOS update problems on your Gigabyte motherboard. If you still have issues, contact Gigabyte’s support or a professional technician for help.
Conclusion
We’ve learned how to update our Gigabyte motherboards’ BIOS by following these steps. Keeping our BIOS up to date is key. It adds new features, boosts performance, and keeps our PCs safe.
Always be careful and ready before updating your BIOS. This makes everything go smoothly. With the advice here, we can update our Gigabyte BIOS with confidence. This way, we’ll see the benefits of new improvements.
Updating your motherboard’s BIOS is very important. It keeps everything running well. Thanks to this guide, we’re ready to manage our system’s BIOS. Now, our Gigabyte computers can perform at their best.