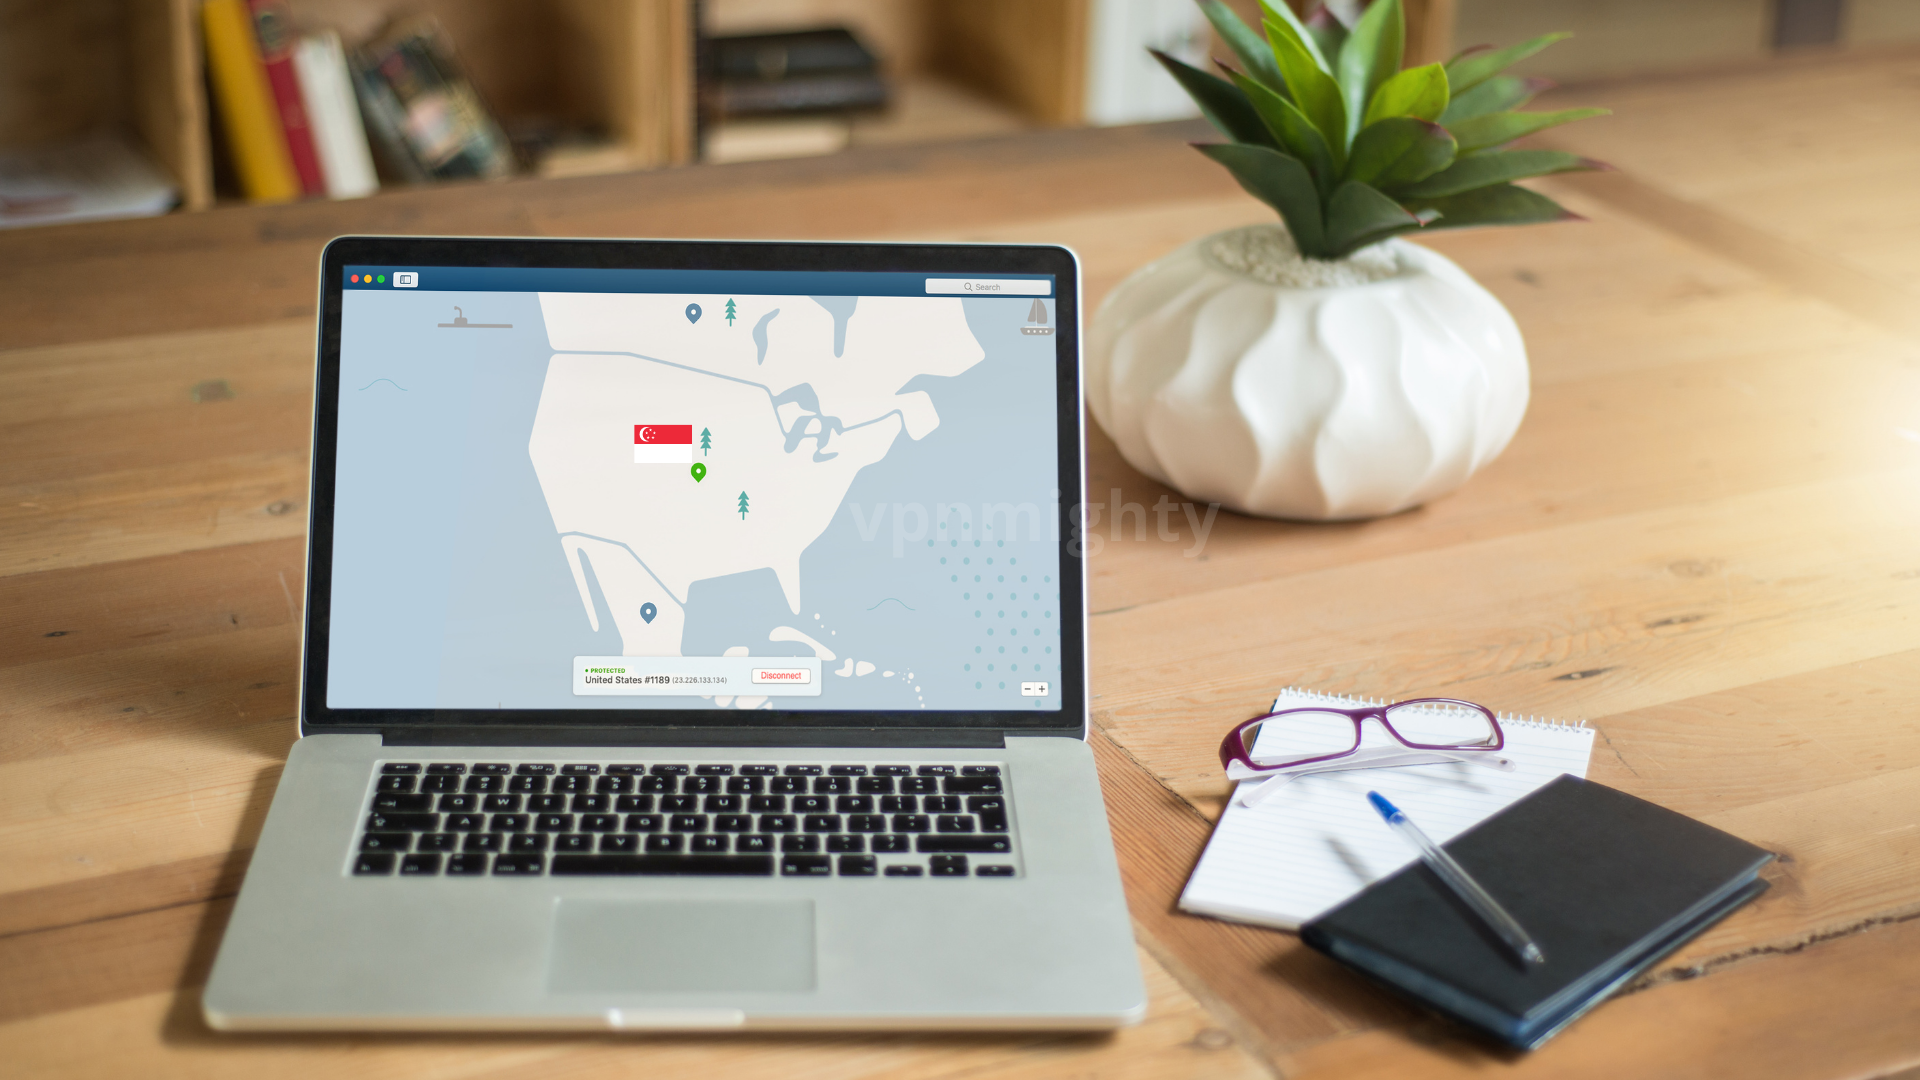
How to Fix “Self Assigned IP Address” Error on Mac Apple
Have you ever run into the frustrating “Self Assigned IP Address” error message on your Mac? For most casual Mac users, networking errors are puzzling and annoying. When your Wi-Fi suddenly stops working and you see this cryptic message, you just want the problem fixed as quickly as possible so you can get back to streaming your favorite show or video chatting with friends. The good news is there are a few simple troubleshooting steps you can try yourself to resolve a self-assigned IP address error before calling in the experts. In just a few minutes, you’ll be back online and the error message will fade into a distant memory. Read on for the quick fixes that will have your Wi-Fi working in no time.
What Causes the “Self Assigned IP Address” Error on Mac?
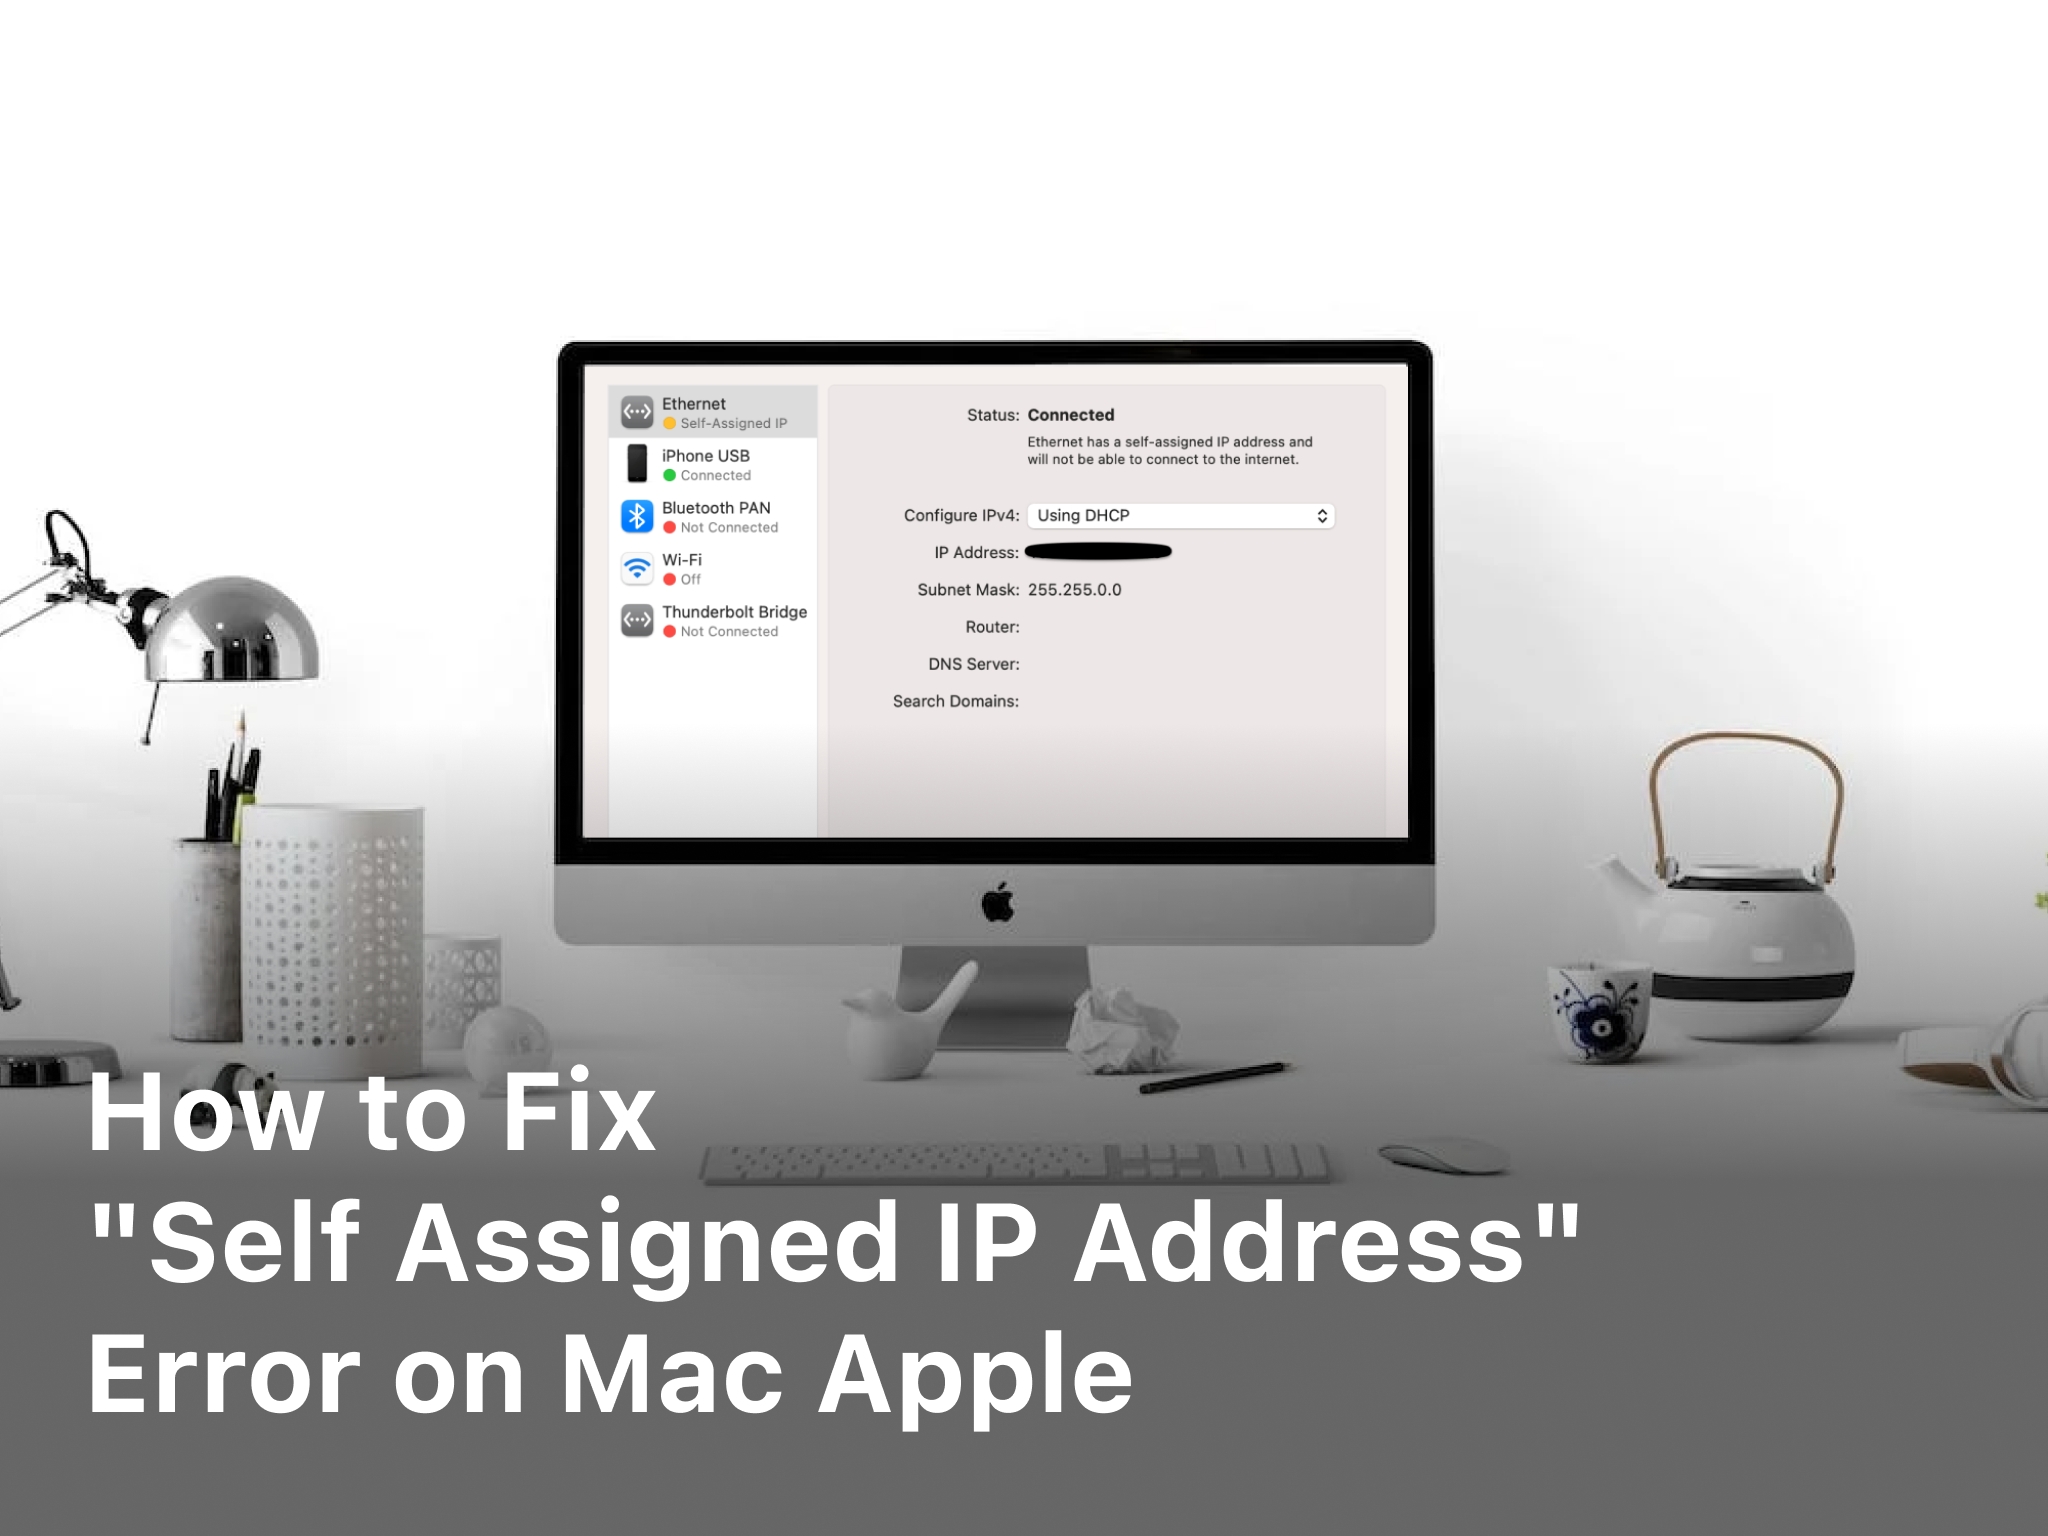
The “self assigned IP address” error on a Mac means your computer was unable to obtain an IP address from your router, so it assigned itself a random one to use instead. This prevents your Mac from accessing the internet or other network resources. There are a few common reasons why this happens:
First, it could be an issue with your router or modem. If the router isn’t working properly or has been reset recently, it may not be able to assign IP addresses to connected devices. Try restarting your router and modem to refresh their settings. You should also make sure your router’s firmware is up to date, as outdated software can sometimes cause connectivity problems.
Another possibility is that your network cable or Wi-Fi connection isn’t working right. Double check that all cables are securely plugged in, and test your Wi-Fi by connecting another device to the same network. If the connection seems to be the issue, you may need to reset your network settings on the Mac.
Finally, the network preferences or settings on your Mac could have been changed accidentally. Open the Network panel in System Preferences and make sure your Wi-Fi, Ethernet, and TCP/IP settings are correct and your preferred network service is at the top of the list. Select “Apply” to save any changes.
With a little troubleshooting, you should be able to fix the “self assigned IP address” error on your Mac and get reconnected. If problems continue, you may need to contact your internet service provider or an Apple support technician for further help. They can determine if the issue lies with your router, modem, network, or Mac settings and get you back online.
How to Release and Renew Your IP Address
To release and renew your IP address on Mac, there are a few steps to try.
First, open the Network pane in System Preferences. Select your Wi-Fi network connection, then click “Advanced.” Delete your current TCP/IP address by clicking the “-” button. Now, click “OK” and then “Apply.”
Next, open your Wi-Fi menu and turn Wi-Fi off, wait 30 seconds, then turn it back on. This resets your router connection and may automatically assign you a new IP address.
If that doesn’t work, you’ll need to renew your DHCP lease. Open the Terminal app and enter the following command:
sudo ipconfig set en0 DHCP
Enter your admin password when prompted. This command releases your current IP address and requests a new one from the router.
As a last resort, you may need to restart your Wi-Fi router to force it to issue you a new IP address. Unplug the power cable for your router for 2 minutes, then plug it back in. Wait 2 more minutes as it restarts before checking if your IP address has changed.
Between releasing and renewing your IP address, restarting your Wi-Fi, and rebooting the router itself, one of these methods should resolve your “self-assigned IP address” error. If problems continue, it could indicate an issue with your router that may need servicing. But for most casual issues, these steps will get your Mac reconnected in no time.
Related Article : How to Find Your Network Security Key?
Reset Your Wi-Fi Router

To fix the “Self Assigned IP Address” error on your Mac, resetting your Wi-Fi router is one of the first things you should try.
Restart Your Router
Restarting your Wi-Fi router resets its internal software and hardware, which can often resolve temporary issues like IP address problems. To restart your router:
- Locate your Wi-Fi router. This is typically the device that provides internet connectivity in your home or office.
- Find the power cable connected to your router and unplug it for at least 30 seconds.
- Plug the power cable back in and wait 2-3 minutes as your router fully restarts.
Reset Router to Factory Default Settings
If restarting your router doesn’t fix the issue, resetting it to factory default settings is the next step. Resetting wipes your router’s memory and restores the original software settings. You’ll have to reconfigure your Wi-Fi network name and password.
To perform a hard reset:
- Locate the tiny “Reset” or “Restore Factory Settings” button on your router. This is usually on the back or side of the device.
- Press and hold the reset button for 10-30 seconds until the router’s lights flash on and off.
- Release the button and the router will reset itself. The lights will flash as it restarts.
- Reconfigure your Wi-Fi network name (SSID) and password (network key) to reconnect your devices.
Performing a hard reset on your router should resolve most “Self Assigned IP Address” errors on your Mac. However, if the issue continues, it could indicate a problem with your internet connection or router hardware. You may need to contact your internet service provider for additional help and troubleshooting. Resetting your router is an easy first step, but more advanced fixes may be required in some situations.
Restart Your Modem
To fix the “Self Assigned IP Address” error on your Mac, restarting your modem and router is one of the first things you should try.
Restart Your Modem
Restarting your modem and router resets your network devices and can often resolve minor software issues. To restart your modem:
- Locate your modem and router. These are the devices that provide internet connectivity for your home network. The modem connects directly to the internet, and the router broadcasts the signal to your other devices.
- Unplug the power cables for both the modem and router. Leave them unplugged for at least 30 seconds to fully power cycle the devices.
- Plug the power cords back in and wait 2 minutes for the modem and router to fully restart.
- The modem will have indicator lights that flash on and off while restarting. Wait until the lights stop flashing and remain steadily lit before proceeding.
- The router may also have indicator lights that will flash and then turn solid. Check your router’s manual for specifics on its indicator lights.
- Try to connect your Mac to the internet again. The “Self Assigned IP Address” error should now be resolved. If not, there may be an issue with your network settings or other hardware that requires further troubleshooting.
Restarting network equipment is a simple but effective first step for overcoming connectivity issues. Nine times out of ten, a reboot of the modem and router will get your Mac back online and surfing the web in no time. However, if the error message still appears on your Mac after a modem restart, additional measures may need to be taken to determine the root cause of the problem. Don’t hesitate to contact your internet service provider’s technical support for further help.
Renew Your DHCP Lease
When you see the “Self Assigned IP Address” error on your Mac, it means your computer was unable to obtain an IP address from the router’s DHCP server. This can happen for a few reasons, but it’s often an easy fix.
Renew Your DHCP Lease
The most common solution is to renew your DHCP lease. This renews the lease your Mac has to an IP address and refreshes your router’s connection. Open System Preferences on your Mac and click “Networking”. Select “Wi-Fi” in the left menu, then click the “Advanced…” button.
Click the “TCP/IP” tab, then click “Renew DHCP Lease”. Wait a few seconds for the request to go through. This should refresh your Wi-Fi connection and provide your Mac with a proper IP address.
Restart Your Modem and Router
If renewing the lease didn’t work, try restarting your modem and Wi-Fi router. Unplug the power cables for both devices and wait 30 seconds. Plug them back in and allow a few minutes for them to fully restart. Once the network connections have been re-established, try to connect your Mac to Wi-Fi again. The restart should have cleared any software issues preventing DHCP from working properly.
Forget the Network and Rejoin
On your Mac, open System Preferences and go to “Network” settings. Select “Wi-Fi” and click the “Advanced…” button. Click on your Wi-Fi network name under “Preferred Networks” and click the minus sign to “Forget this Network”. Then, click “Wi-Fi” in the left menu again to search for networks and rejoin your Wi-Fi. This will force your Mac to get a new DHCP lease and IP address.
Check for Outages
If none of the other steps work, there may be an outage with your internet service provider preventing DHCP from functioning properly. You can check your provider’s website or phone support line to see if there are any reported Wi-Fi or internet issues in your area. Once service is restored, your Mac should automatically obtain an IP address as usual.
In summary, the most common fixes for a “Self Assigned IP Address” error are: renewing your DHCP lease, restarting networking equipment, forgetting and rejoining the Wi-Fi network, or checking for and resolving any internet outages. With a little patience and troubleshooting, you should be back online in no time.
Conclusion
There you have it, a few easy steps to fix that annoying “self-assigned IP address” error on your Mac. By heading to System Preferences and making some quick updates to your network settings, you’ll have your wifi connection back up and running in no time. With a few clicks, you can release and renew your IP address, enter your network password, and double check those DNS settings. Your wifi woes will be a thing of the past. Now get back to surfing the web, streaming your favorite shows, and staying connected to friends and family. Your Mac is ready to get you back online where you belong.